Gwen Korvick
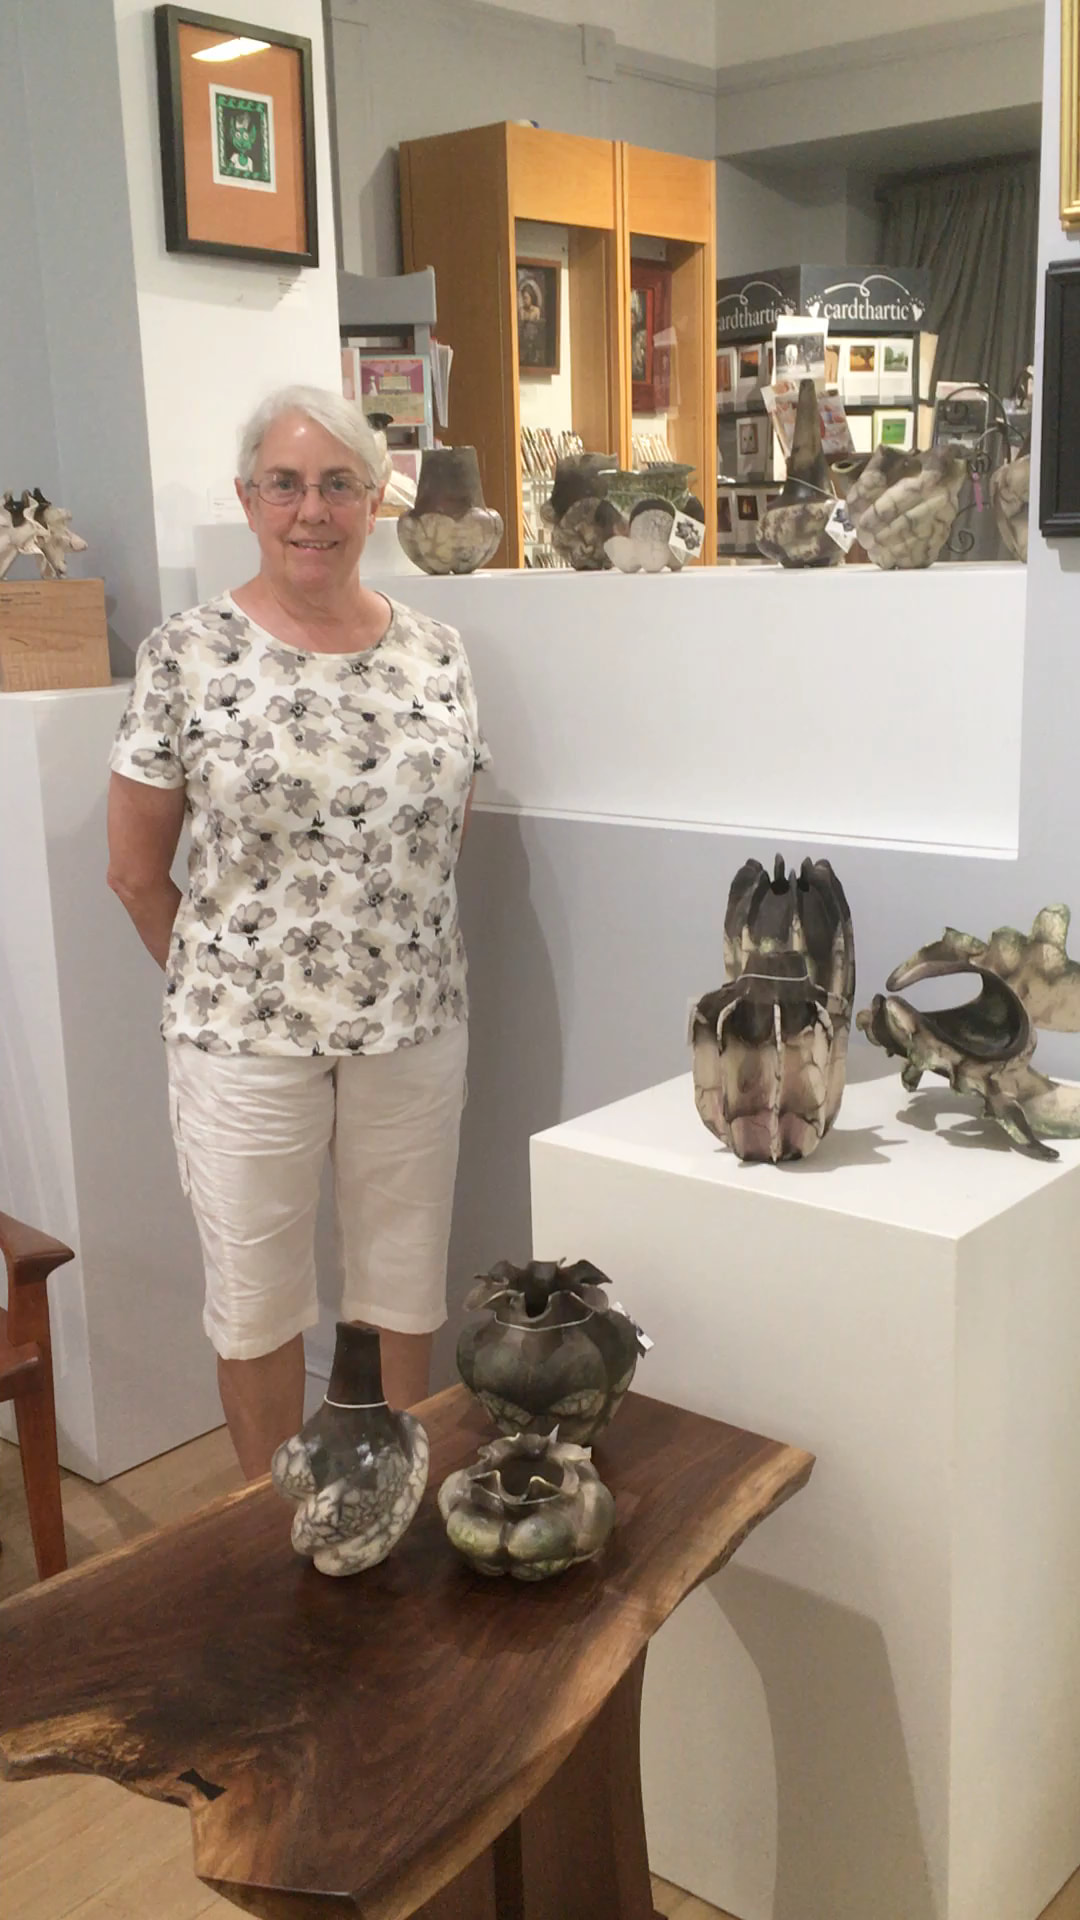
Gwen Korvick of Penn Hills, PA, has been crafting pinch pots for many years. Here she shares her techniques for achieving the shapes and coloring for which she's won several awards.
|
It’s actually an ancient pottery forming technique that begins with a small ball of clay. You stick your fingers into the ball and proceed to pinch to get the walls thinner. I’ve made very large pieces using this technique. It’s an involved process and it takes a long time because you can only work the pots to a certain thinness before they become too fragile to work, so you need to let the pottery rest for a little while in between working times, so I’ll often have several pots in the works at one time.
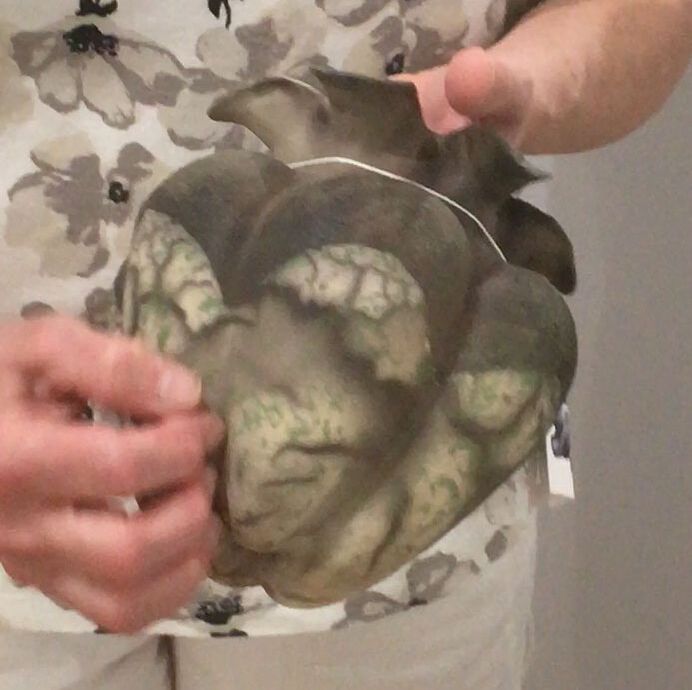
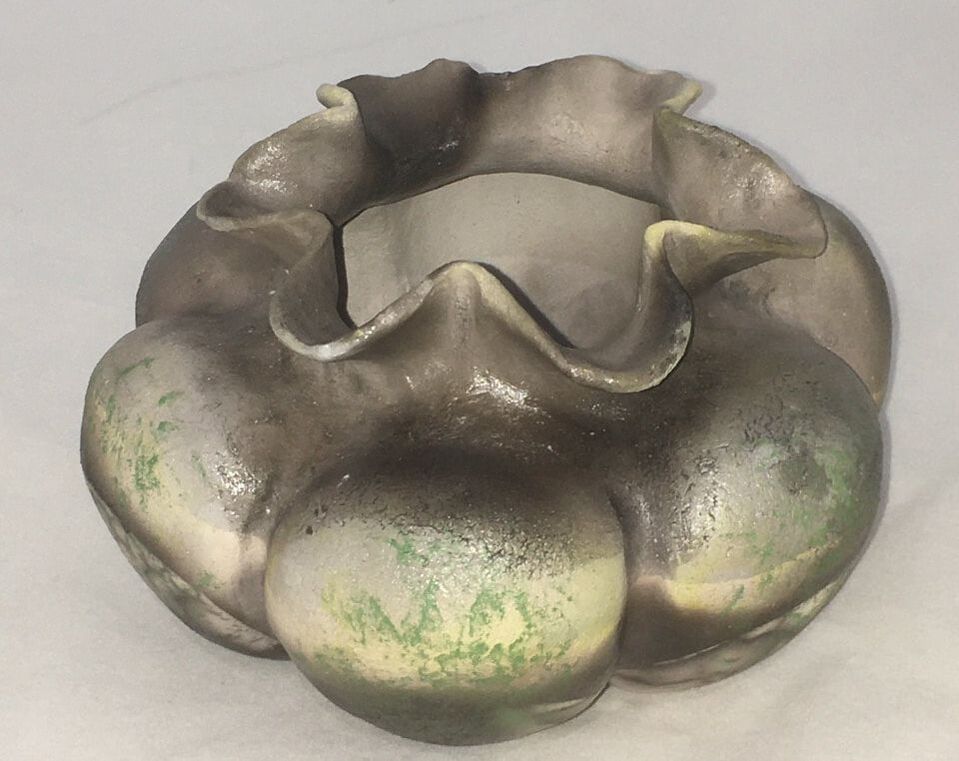
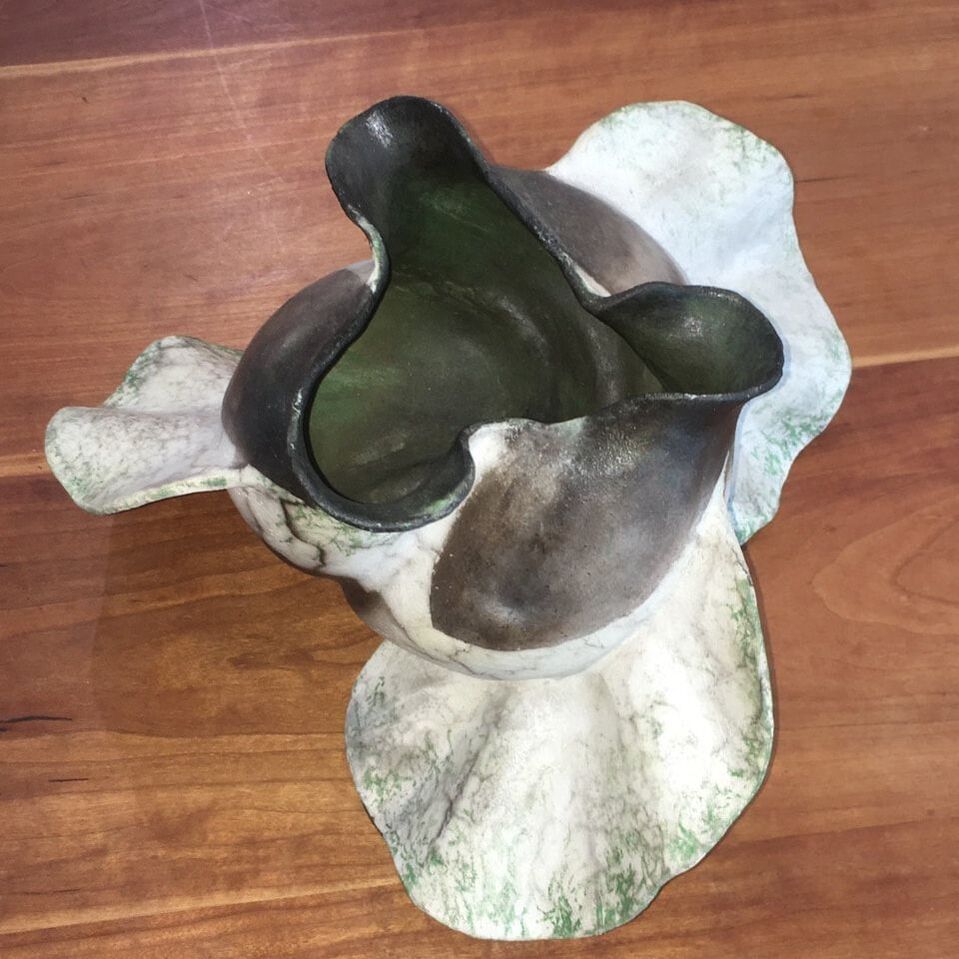
A number of years ago I began to give my pots shapes. Previously, they were just plain spheres. I figured out how to create lobes on them by pressing in certain areas from the outside and pressing out from the inside to create these lobed forms. This pot, called “Flourish,” started out from about 1 1/2 pounds of clay and it was formed using my fingers and sticks and stones to form the lobes.
|
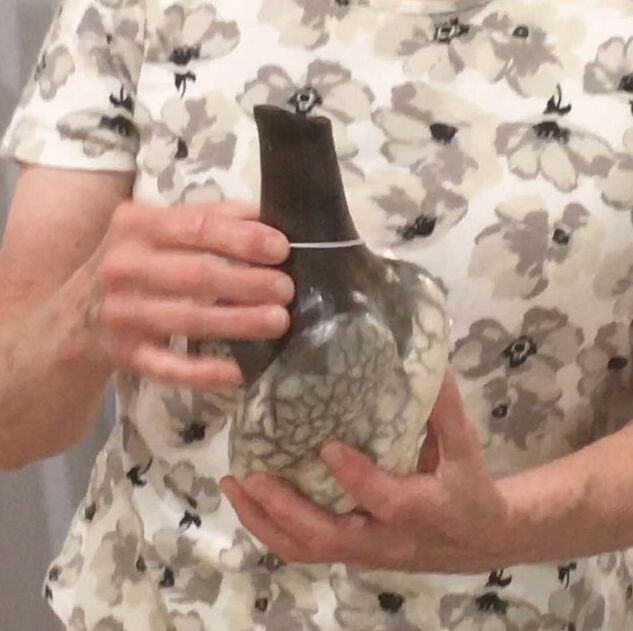
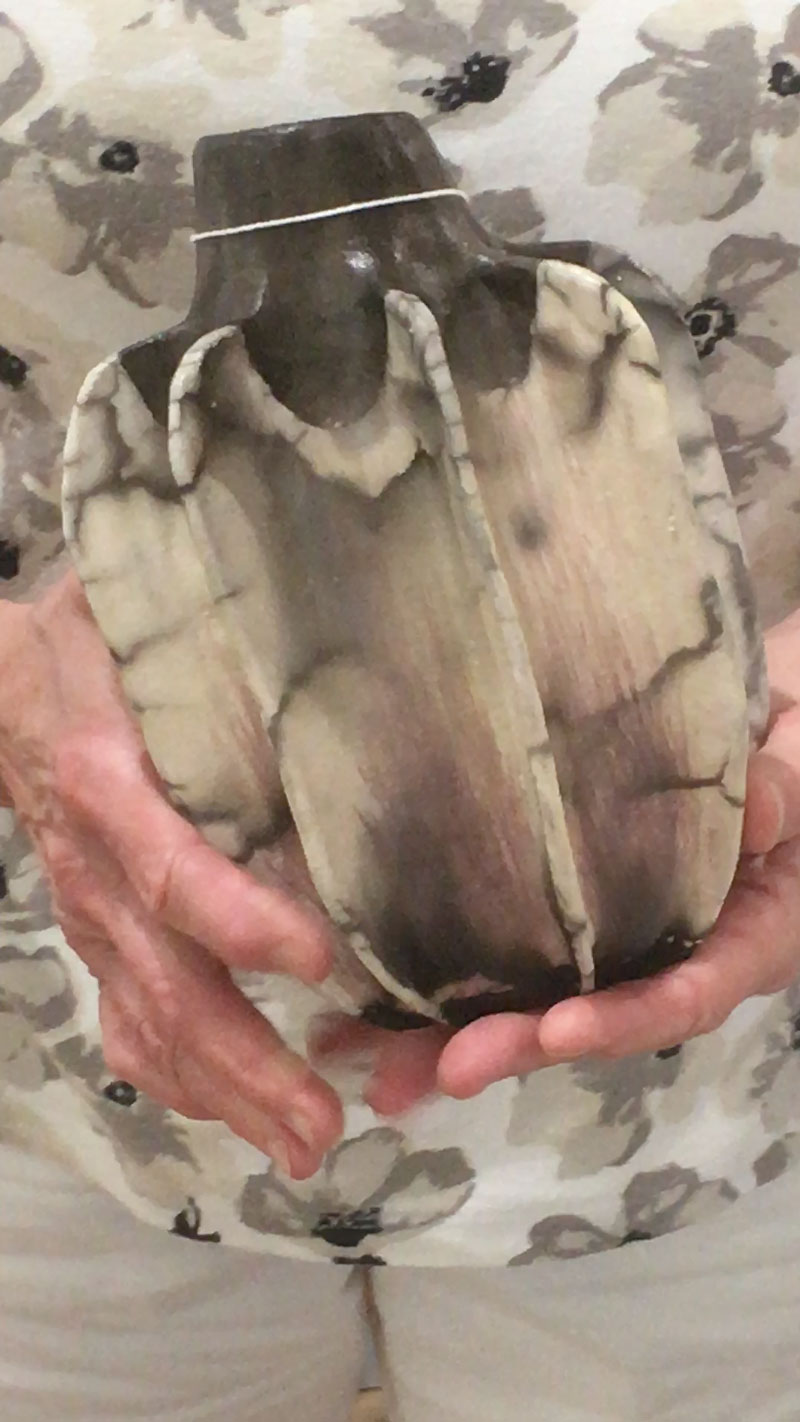
After mastering spheres and lobes, I discovered how to form bottle shapes using the pinch method, which is similar to how you would form it by throwing on the wheel. I go around in one direction, constantly pushing in with my fingers to get the neck to go in and get thinner as it goes up, so I need to leave a collar of clay that I can get that neck to form in the pinching method. This pot, called “Carafe,” is all pinched - none of it is done on the wheel
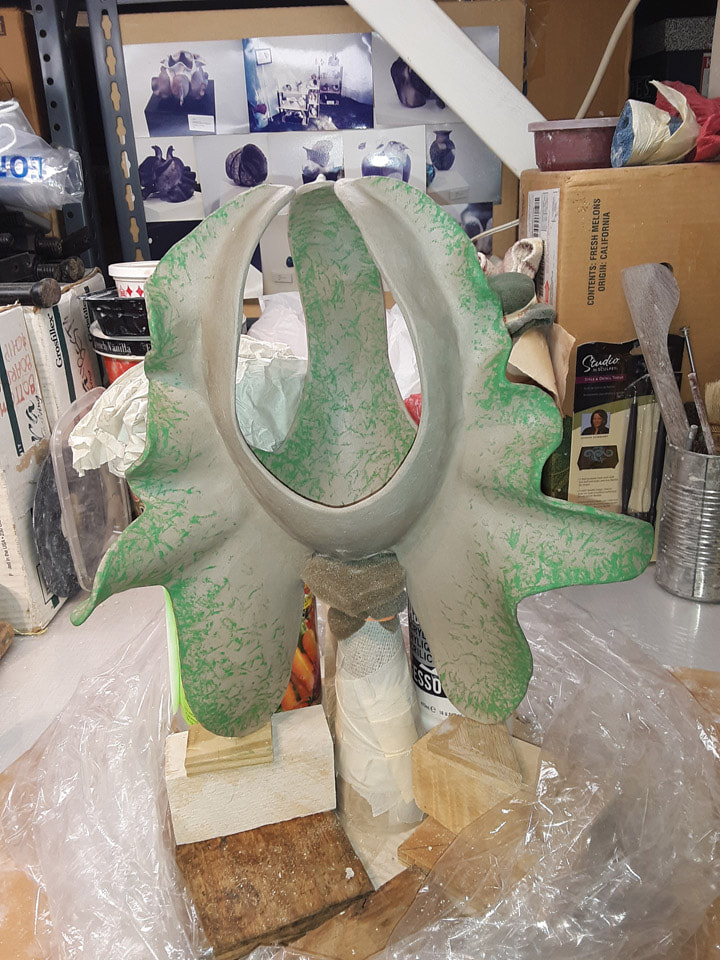
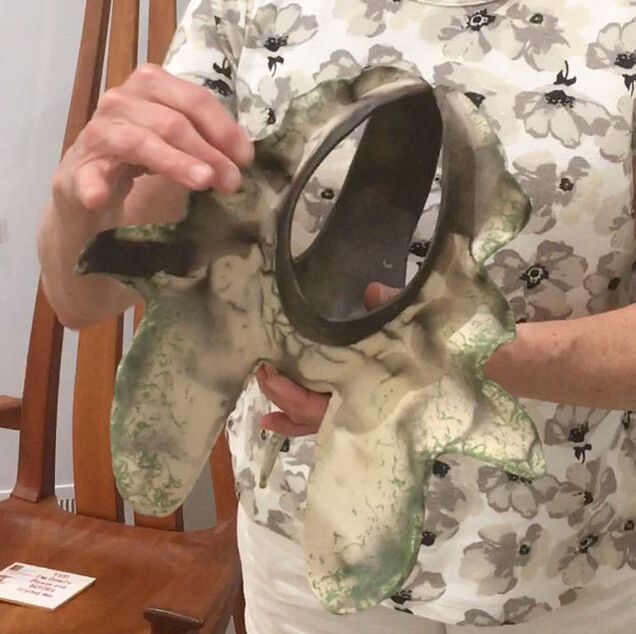
Some of my pieces have fins on them. The fins are actually an addition to the pot. This began as a full pinch pot and was created in a vessel form. Then I added fins to this. The fins are attached as slabs, and have to be formed with the fingers to get the waviness to them.
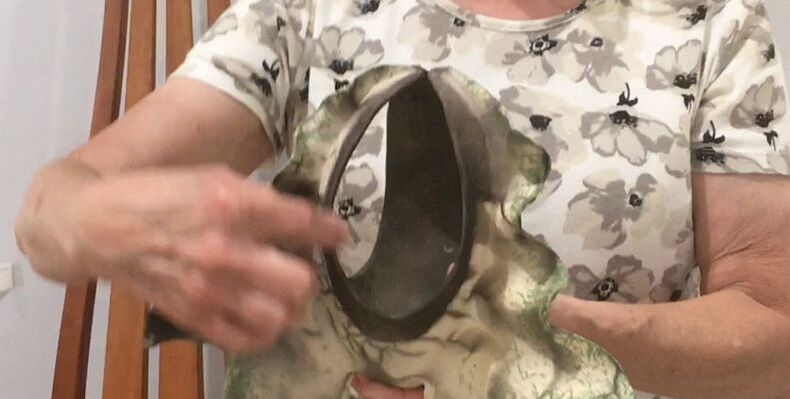
I then cut a section out of the pot to form this piece called “Traveler”.
|
I like the surface of my pinch pots to maintain a rough clay mud texture. I don’t want to put glaze on them, so I achieve color in two ways. Anywhere you see green or red on the pot, that’s an oxide. The green is a chrome oxide; the red is type of iron oxide called crocus martus. These oxides have to be applied to the clay before bisque-firing, so they burn into the clay.
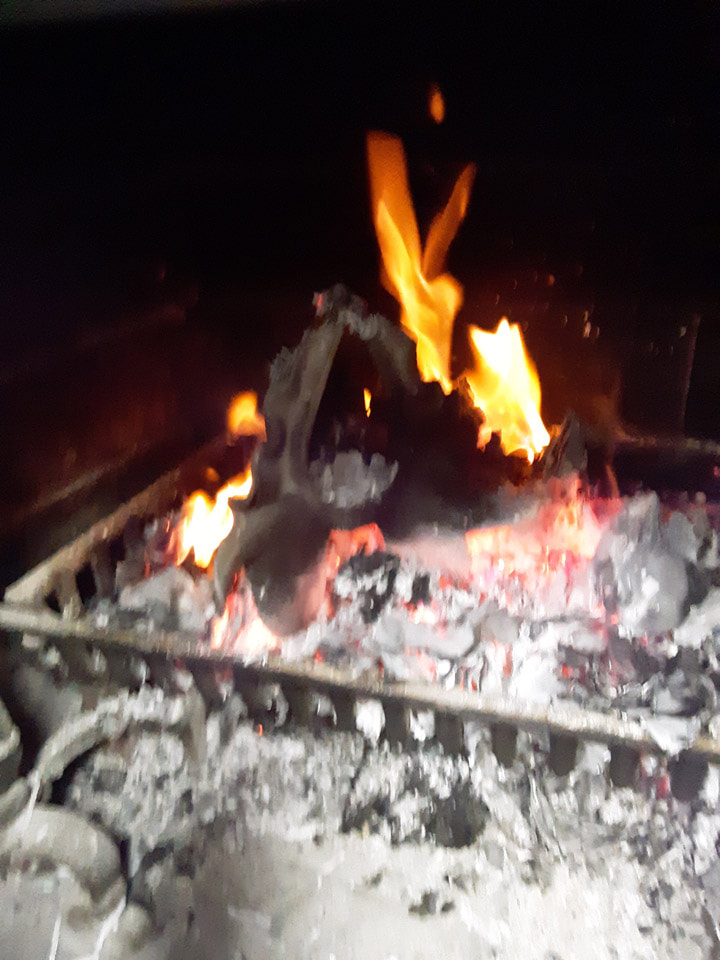
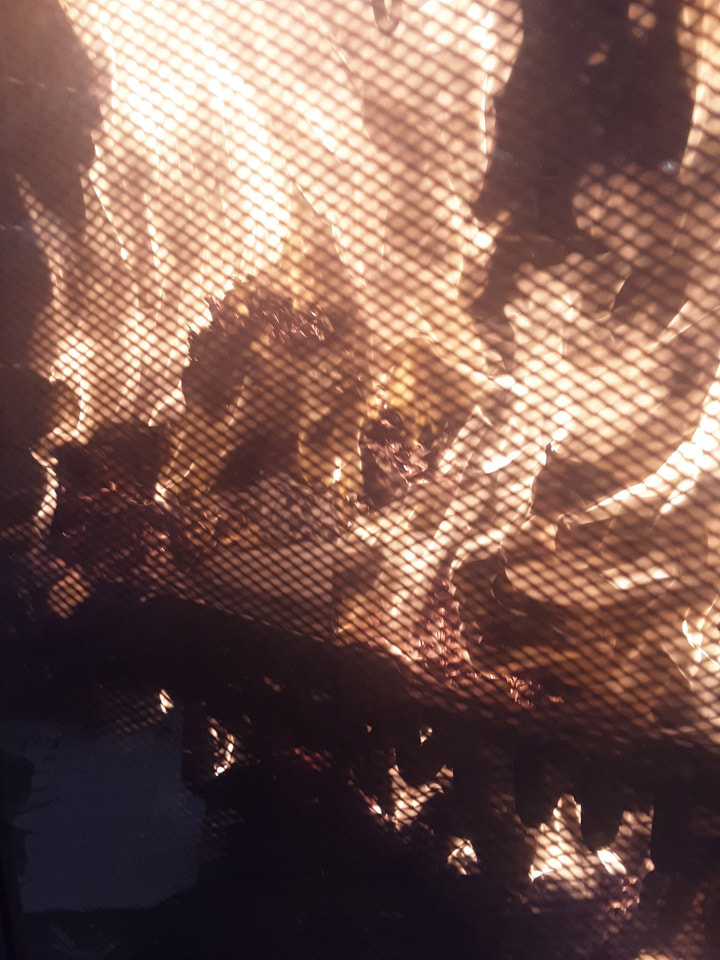
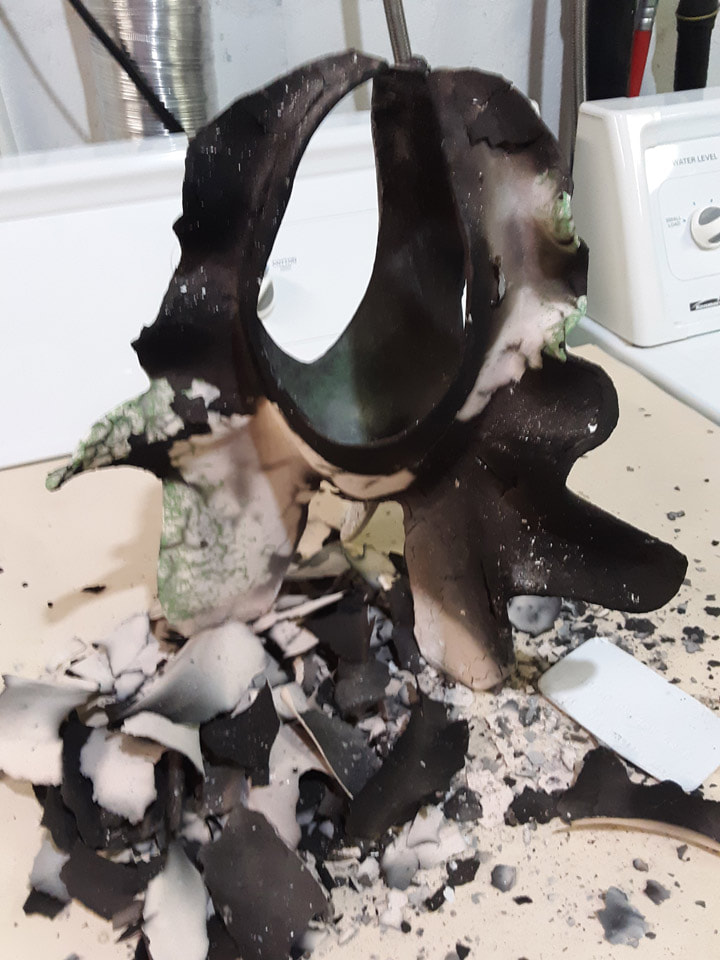
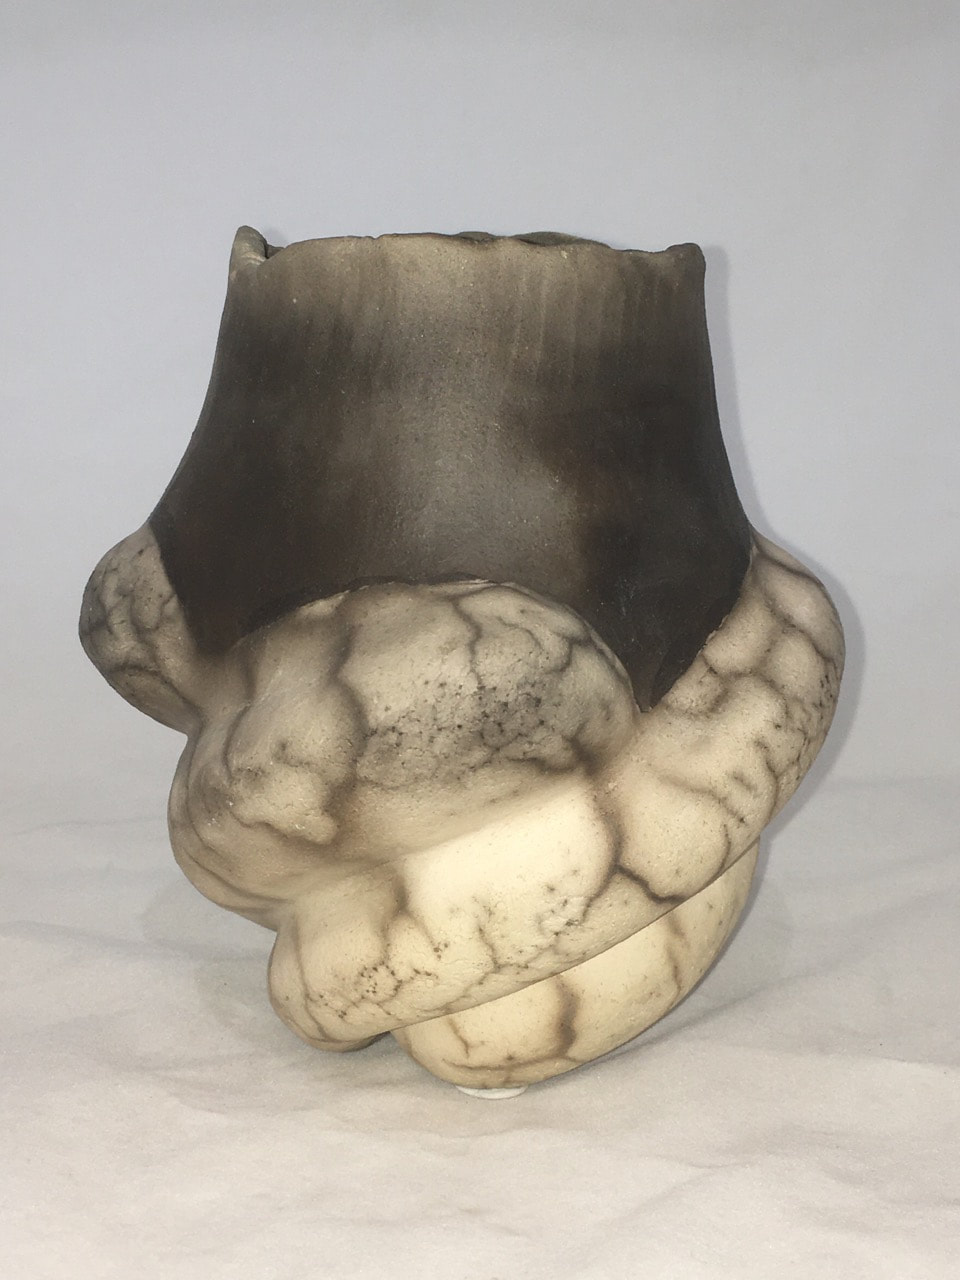
Another technique I learned is called “clay stenciling.” All of these pots all have a “stencil” that has been applied to them, which is where the white area is. I bisque-fired the ware, I apply the stencil to them and bisque fire them again. When they come out of the kiln they have this eggshell stencil on them. Once the stencil has been bisque-fired, I take the ware and put it into a reduction firing - a firing with combustibles to put carbon onto the pots. That’s where it’s black.
Anywhere that the stencil had natural cracking in it you get this spider webbing pattern from carbon seeping in. Once that reduction firing is done, I carefully remove the stencil from the pots.
And that’s how I make pinch pots. |
Address
301 West Main St.
Ligonier, PA 15658 Visit us in historic Ligonier!
|
|

